Preparing to Paint
I think that it’s important for an artist to prepare there own canvas. Most commercially produced canvases are cotton. I don’t find cotton to be the best surface to paint on. It can be effected by the weather, and is often very coarse. Linen is my preferred surface. I will be painting on a very fine quality linen for this project. It has been primed with 3 layers of lead white priming. Lead white is the ideal material because it stays very flexible as it ages. If the priming were rigid, it would crack over time, causing a visible crack to appear in the painting.
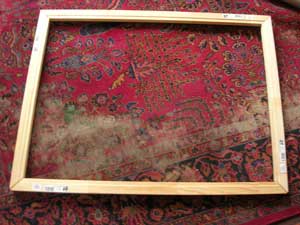
The canvas is attached to the stretcher bars with small copper tacks. Copper is used, because it will not rust should any moisture get on to the painting. The canvas is first stretched in the middle on all 4 sides. Then one tack is put in to the left of the middle, and then to the right. This process is repeated on all 4 sides. A diamond shape forms in the center of the canvas as the stretching continues. Eventually the entire canvas will have been stretched and tacked down along the entire length of it’s 4 sides.
So the design is done, and it’s time to paint. But how does the design get from a charcoal drawing, done on a sheet of paper, to a canvas? The first step in the transfer process is to lay a sheet of acetate, or plastic, over the top of the drawing. The shadow shapes and light shapes are copies onto this plastic using a permanent marker. The plastic sheet is then laid over top the stretched canvas. A sheet of carbon paper is sandwiched between the plastic and the canvas. The lines on the plastic sheet are then traced with a ball point pen. This produces a graphite line on the canvas. When the plastic sheet is removed, a completed transfer is on the canvas, and you’re ready to paint.


